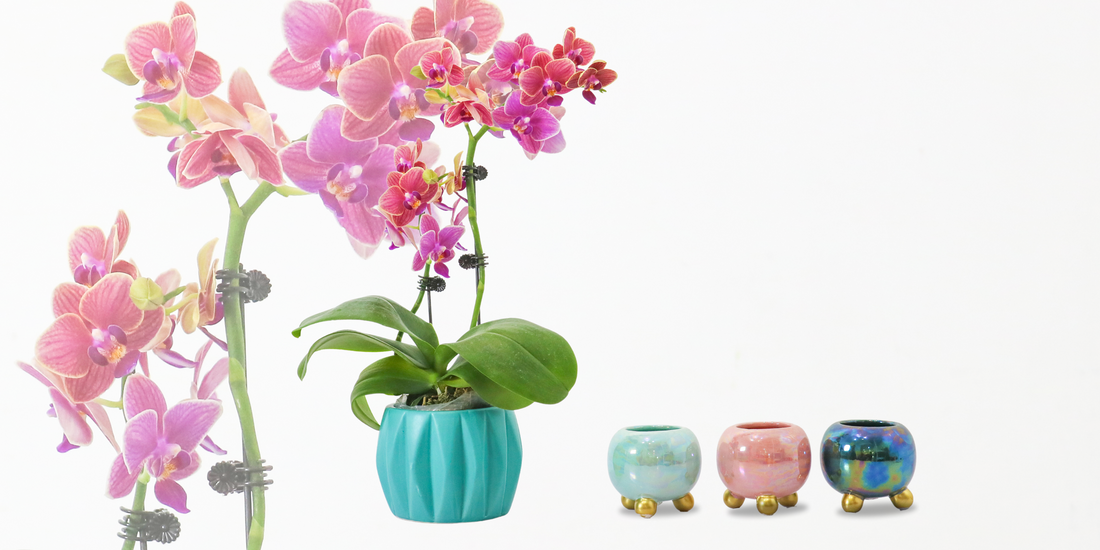
How to Repot Orchids at Home: A Simple Guide for Beginners
Share
Repotting your potted orchid is an essential part of orchid care repotting, ensuring your beautiful plant continues to thrive and bloom. Whether you're wondering how to repot orchids at home or searching for potted orchids near me, this guide will walk you through the process with ease. Whether you're a seasoned plant enthusiast or a beginner, learning how to repot orchids is essential for maintaining the longevity of these beautiful plants.

Why Repotting Orchids Is Important
Over time, the potting mix in your potted orchid breaks down, restricting airflow to the roots. This can affect the plant’s ability to absorb water and nutrients. Repotting your orchid every 1-2 years not only refreshes the growing environment but also allows you to inspect the roots and remove any dead or damaged parts. Even if you’re wondering, “Can I repot an orchid in bloom?”, the answer is yes, though it's generally better to wait until after the flowering period if possible.
When to Repot Orchids
The best time to repot orchids is after they have bloomed and are entering a new growth phase. If your orchid’s roots are growing out of the pot or the potting mix looks compacted, it’s time for repotting. Orchids that have outgrown their pots or need fresh mix benefit greatly from this process.
How to Repot Orchids at Home
Here’s a step-by-step guide on how to repot orchids:
- Prepare Your Materials: You'll need a new pot (preferably a greenhouse plant pot with drainage holes), fresh orchid potting mix, and sterilized scissors.
- Remove the Orchid from Its Current Pot: Gently slide the orchid out of its current container. Be careful not to damage the roots while removing it from the plant pot.
- Trim Dead Roots: Check for any brown or mushy roots and trim them off with sterilized scissors. Healthy roots should be white or light green.
- Add Fresh Potting Mix: Place a small amount of fresh orchid mix at the bottom of the new pot. Position the orchid and fill the pot with the mix, ensuring the roots are covered but not packed too tightly.
- Water Sparingly: After repotting, water the orchid lightly and avoid soaking it. Orchids prefer to be slightly dry between waterings, and too much moisture can harm the roots.

Repotting Tip for Orchid Care
One of the essential parts of orchid care repotting is ensuring proper air circulation around the roots. The use of a well-draining mix and a pot with holes is critical for allowing the orchid to thrive. If you’ve got potted orchid arrangements in bloom, it’s best to wait until after they flower, but in a pinch, you can still repot with gentle care.
Finding the Right Pot and Supplies
If you're looking for supplies or potted orchids near me, it's important to choose high-quality materials. At Flossom, we offer a variety of potted orchid arrangements, and beautiful vase pots to make your repotting experience seamless. From potting plants to plant care advice, we’ve got you covered.
Repotting your orchid at home can rejuvenate the plant and ensure continued growth. With a bit of care and the right tools, your orchid will continue to grace your space with its beauty.
For those who love plants but don’t want the hassle of repotting, Flossom offers beautiful potted orchid options and monthly delivery services. Elevate your home or office with our stunning orchids!
SUMMARY:
By following these simple steps and incorporating how to repot orchids into your regular plant care routine, you can ensure your potted orchids remain healthy and vibrant. Whether you’re enhancing your plant pot setup or simply enjoying a pot of orchid in your living space, proper repotting is key to maintaining the beauty and longevity of your orchids.
Embrace the art of plant potting with Flossom’s expert tips and enjoy the stunning blooms of your repotted orchids year-round. Happy gardening!
Written by:
Angelli P. Galunan


